Learn how to deploy GitLab on NAS (FNOS, Synology, TrueNAS) using Docker, fix permission errors, and safely restore backup data. This step-by-step tutorial covers volume mounting, version matching, and migration best practices to build your private DevOps platform effortlessly.
Why Install GitLab on a NAS?
Most development teams rely on cloud services like GitHub or GitLab.com for code hosting, but more developers are seeking control over their data and build environments.
Deploying GitLab on a NAS offers key benefits:
- Data Sovereignty: Full control over your code and configuration.
- High-Speed Access: Low-latency access within your local network.
- Cost Control: No need for extra cloud service subscriptions.
- Reliable Backups: Leverage NAS-built features like snapshots and RAID for enhanced security.
However, due to differences between NAS architectures and traditional Linux servers, GitLab installation and backup restoration often run into permission or version compatibility issues. This guide breaks down Docker-based GitLab deployment on NAS and secure backup recovery in detail.
Common Installation Issue: Permission Errors & Root Causes
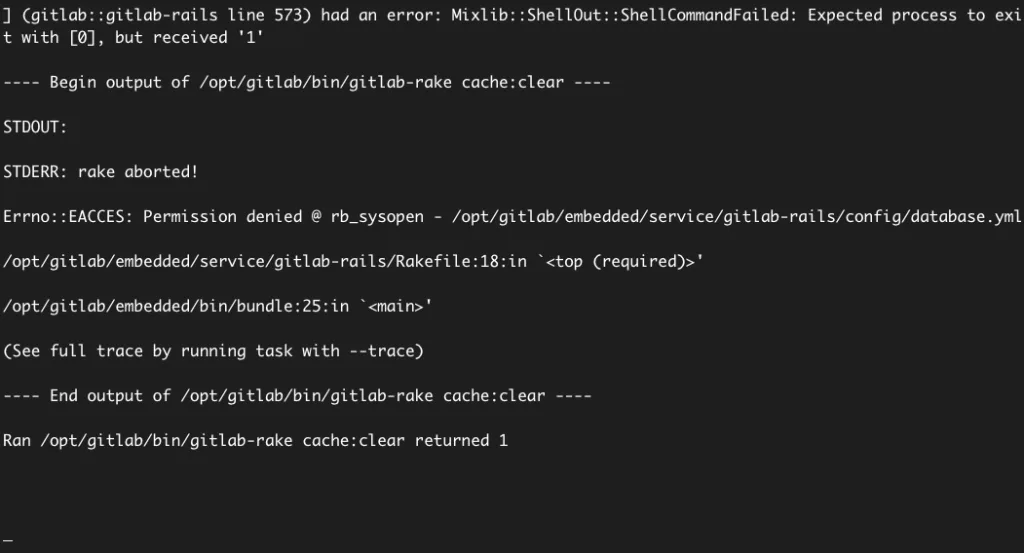
Many users encounter errors like this when starting the GitLab container for the first time:
Errno::EACCES: Permission denied @ rb_sysopen - /opt/gitlab/embedded/service/gitlab-rails/config/database.yml

/opt/gitlab/embedded/service/gitlab-rails/Rakefile:18:in `<top (required)>'/opt/gitlab/embedded/bin/bundle:25:in `<main>'

(See full trace by running task with --trace)

---- End output of /opt/gitlab/bin/gitlab-rake cache:clear ----

Ran /opt/gitlab/bin/gitlab-rake cache:clear returned 1
These issues typically stem from:
- Insufficient permissions for the mounted container directory.
- Default file system restrictions (e.g., btrfs, ext4) on NAS blocking container writes.
- Running Docker as a non-root user, preventing GitLab from creating configuration files.

Fix Approach: Use the system’s auto-assigned mount location or start the container with root privileges. Follow the full solution below.
Correct Way to Create a GitLab Container on NAS
1. Enable SSH and Connect to Your NAS
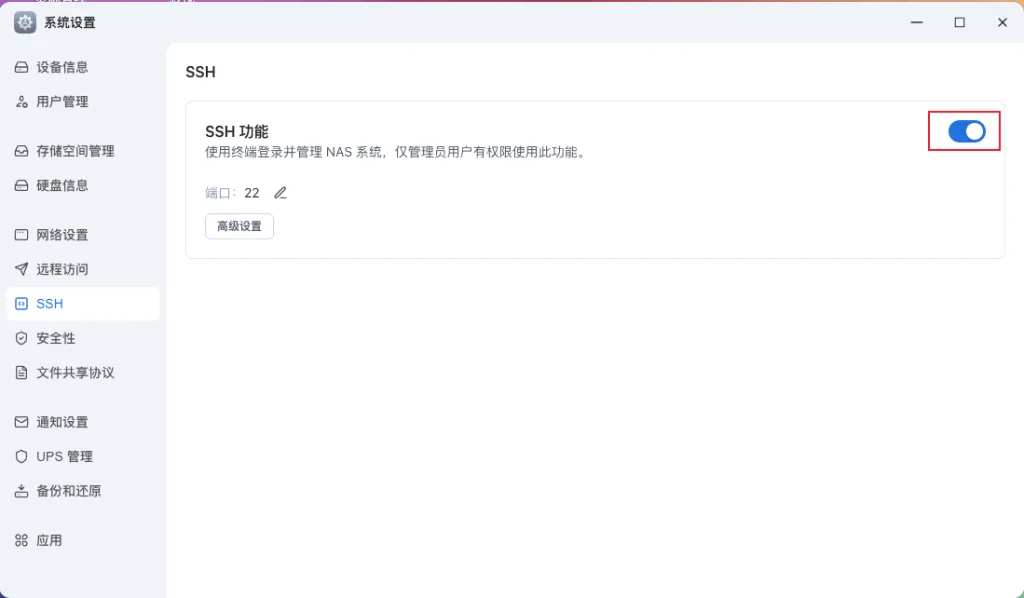
First, enable SSH on FNOS, Synology DSM, or your NAS system.
Connect to the NAS via command line:
ssh [email protected]
sudo su  # Switch to root user
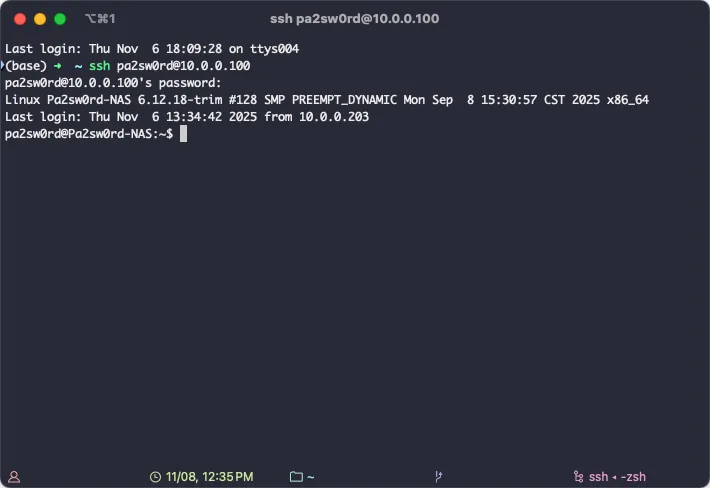
Note: Root privileges are critical for successful container mounting and file writing.
2. Create GitLab Data Storage Directories
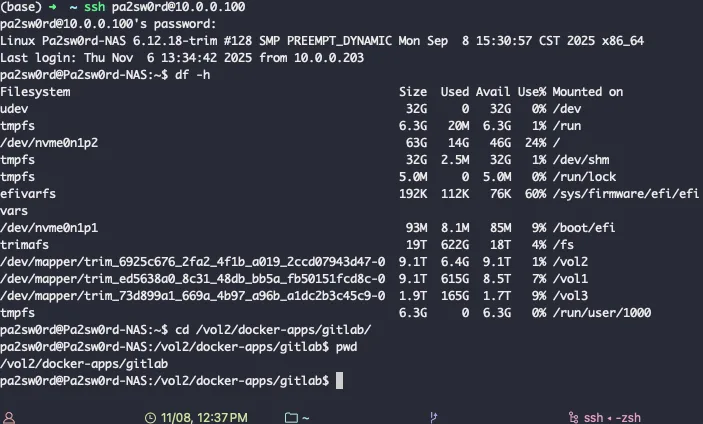
For easier backup and migration, store container data in a dedicated volume:
df -h                  # Check available storage space
cd /vol2
mkdir -p docker-apps/gitlab
cd docker-apps/gitlab
3. Write the Docker Compose Configuration File
Create the configuration file:
nano docker-compose.yml
Paste the following (EE version recommended for advanced features):
services:
  gitlab:
    image: gitlab/gitlab-ee:16.7.0-ee.0
    container_name: gitlab
    restart: unless-stopped
    privileged: true
    volumes:
      - ./etc/gitlab:/etc/gitlab
      - ./var/log/gitlab:/var/log/gitlab
      - ./var/opt/gitlab:/var/opt/gitlab
    ports:
      - "40022:22"
      - "40443:443"
      - "40080:80"
    networks:
      - gitlab

networks:
  gitlab:
    external: false
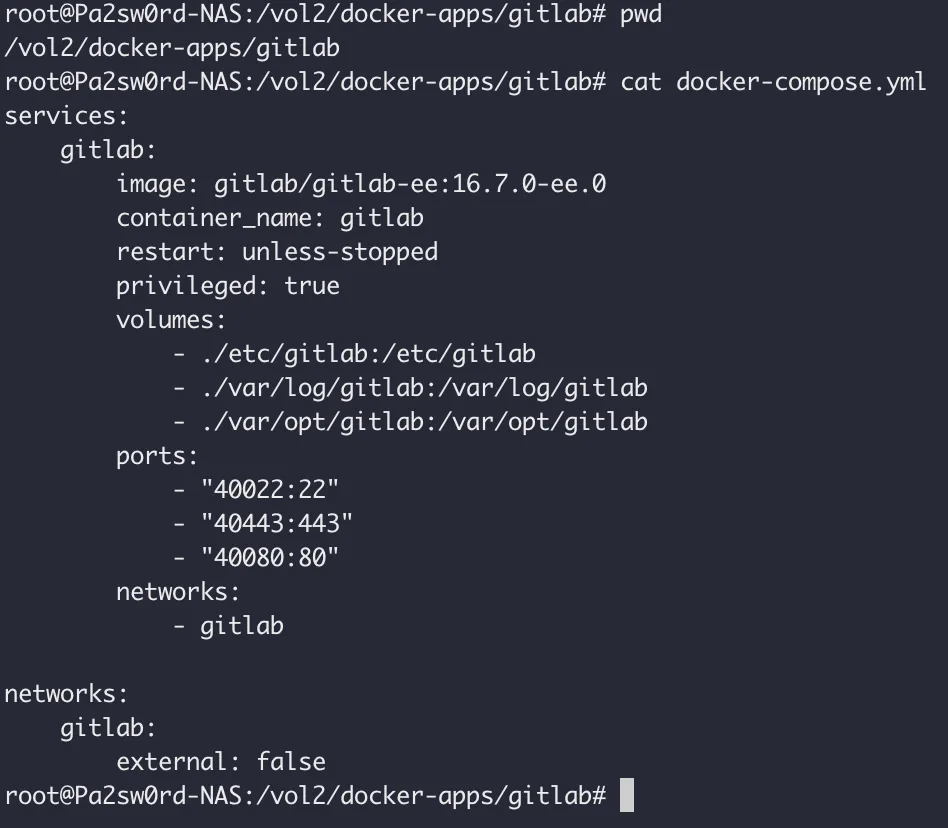
⚠️ Critical Note: The GitLab image version must match the backup file version. For example, if your backup is from 16.7.0-ee, use the exact same container version.
4. Start the Container and Access GitLab
Launch the container:
docker compose up -d

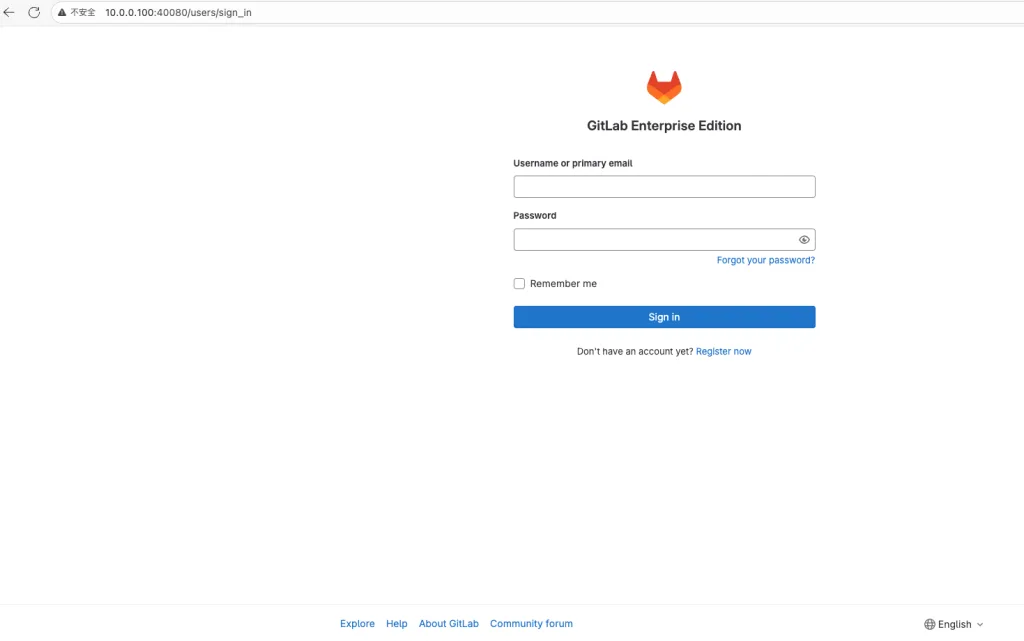
After startup (initialization takes a few minutes), access GitLab in your browser:
http://NAS_IP:40080
Retrieve the admin password with:
docker exec -it gitlab grep 'Password:' /etc/gitlab/initial_root_password

Sample Output:
Password: yqOc3nsM73QBnpO8/9BDUu5DpMl2lNpoSiMw4KgKQ5k=
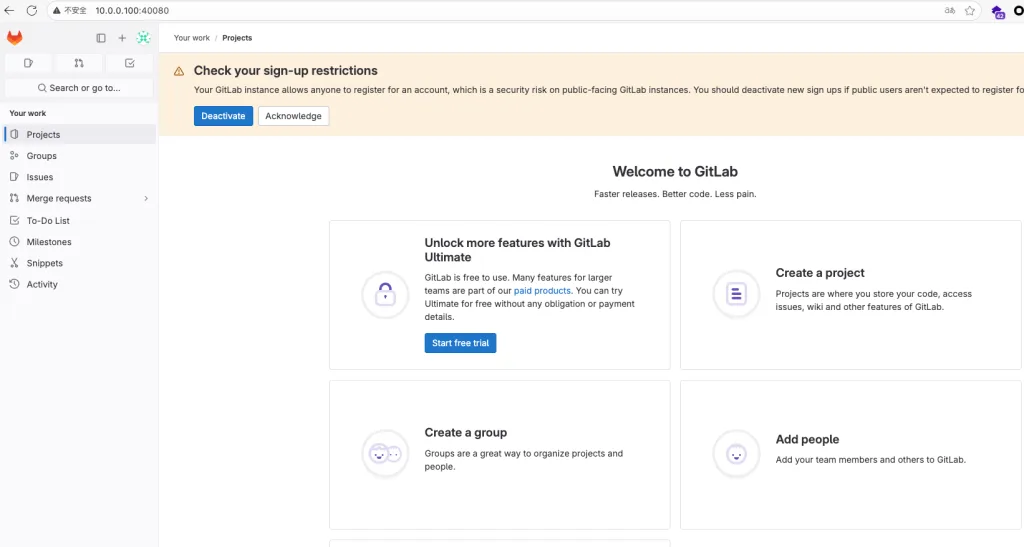
Log in with the username root and the retrieved password.
GitLab Backup Restoration & Data Migration
Suppose you have a GitLab backup from an old server/device (filename example):
1758614821_2025_09_23_16.7.0-ee_gitlab_backup.tar
Follow these steps to restore it to your new NAS GitLab environment:
1. Copy the Backup File to the Container Directory
On the NAS host machine:
cp /vol1/1000/backup/1758614821_2025_09_23_16.7.0-ee_gitlab_backup.tar /vol2/docker-apps/gitlab/var/opt/gitlab/backups/

2. Enter the Container and Run the Restore Command
Access the container shell:
docker exec -it gitlab /bin/bash
Run the restore command (exclude the .tar suffix in the BACKUP parameter):
gitlab-rake gitlab:backup:restore BACKUP=1758614821_2025_09_23_16.7.0-ee
If you get a “Permission denied” prompt, add read permissions:
chmod +r /var/opt/gitlab/backups/1758614821_2025_09_23_16.7.0-ee_gitlab_backup.tar
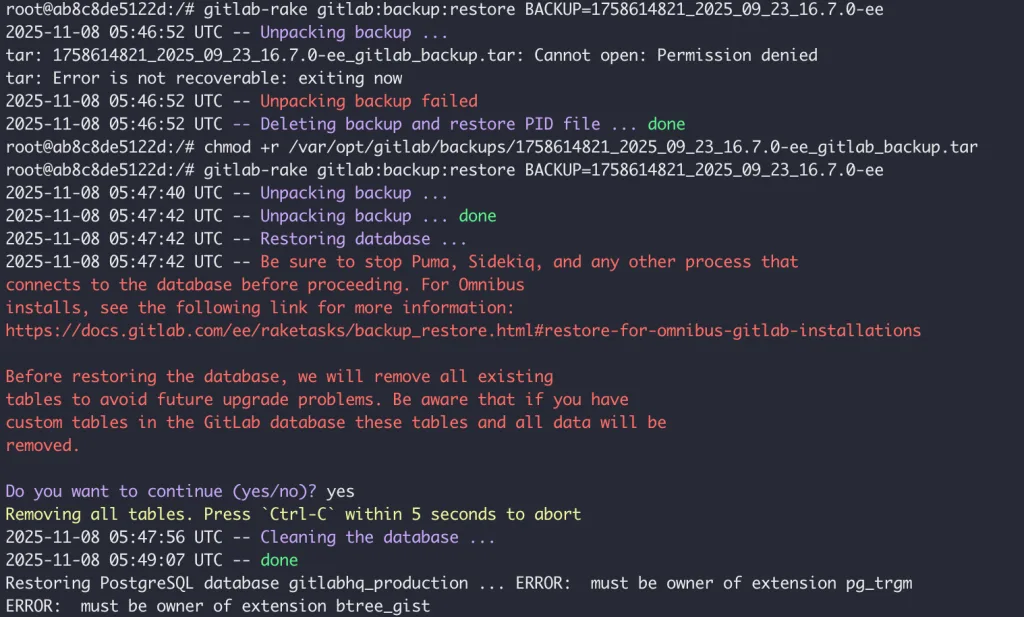
GitLab will automatically extract databases, repositories, Artifacts, and CI files after restoration.
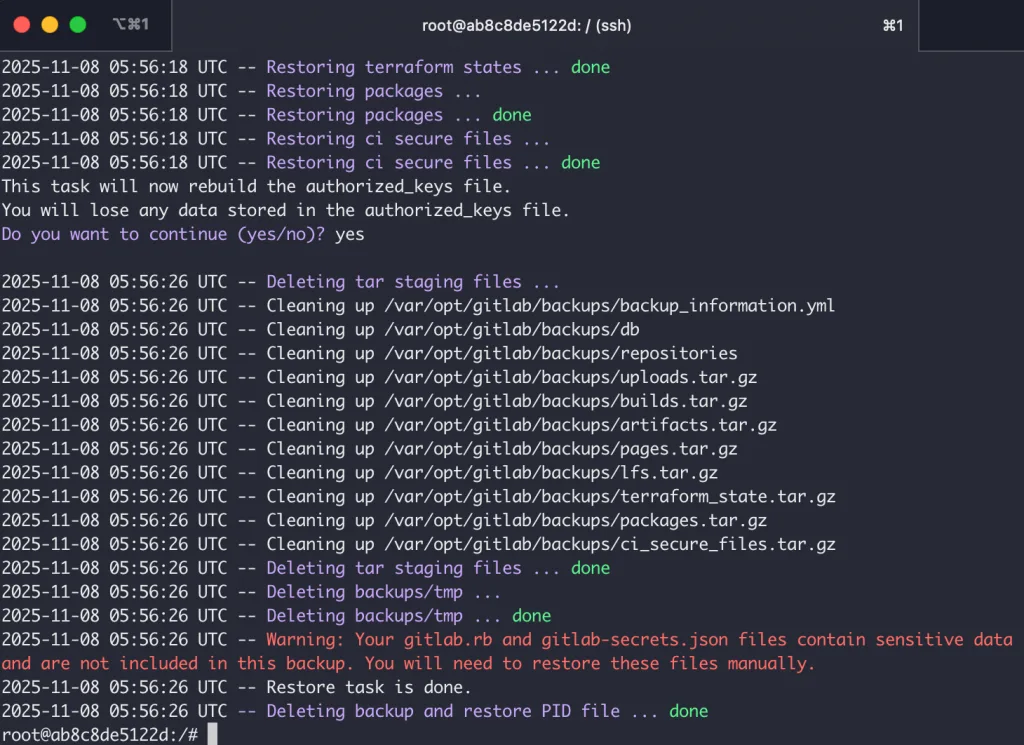

3. Fix Version Mismatch Errors
If you see an error like this:
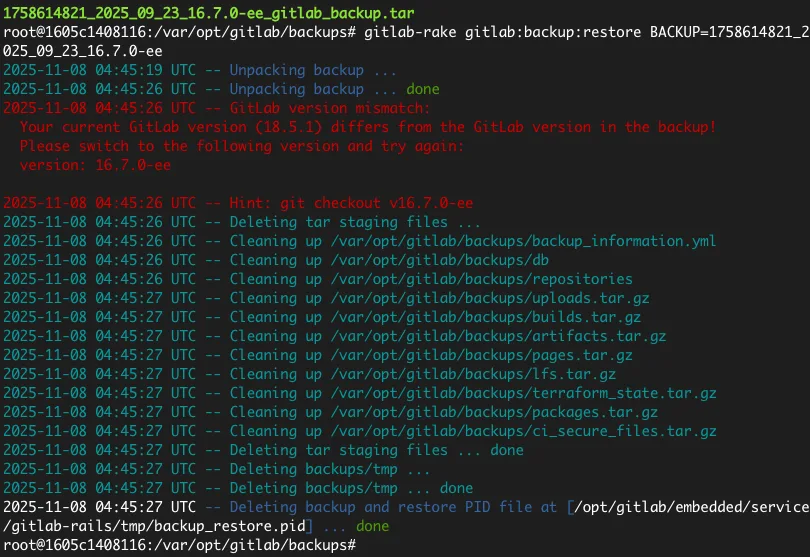
root@1605c1408116:/var/opt/gitlab/backups# gitlab-rake gitlab:backup:restore BACKUP=1758614821_2025_09_23_16.7.0-ee
2025-11-08 04:45:19 UTC -- Unpacking backup ...
2025-11-08 04:45:26 UTC -- Unpacking backup ... done
2025-11-08 04:45:26 UTC -- GitLab version mismatch:
  Your current GitLab version (18.5.1) differs from the GitLab version in the backup!
  Please switch to the following version and try again:
  version: 16.7.0-ee

2025-11-08 04:45:26 UTC -- Hint: git checkout v16.7.0-ee
2025-11-08 04:45:26 UTC -- Deleting tar staging files ...
2025-11-08 04:45:26 UTC -- Cleaning up /var/opt/gitlab/backups/backup_information.yml
2025-11-08 04:45:26 UTC -- Cleaning up /var/opt/gitlab/backups/db
2025-11-08 04:45:26 UTC -- Cleaning up /var/opt/gitlab/backups/repositories
2025-11-08 04:45:27 UTC -- Cleaning up /var/opt/gitlab/backups/uploads.tar.gz
2025-11-08 04:45:27 UTC -- Cleaning up /var/opt/gitlab/backups/builds.tar.gz
2025-11-08 04:45:27 UTC -- Cleaning up /var/opt/gitlab/backups/artifacts.tar.gz
2025-11-08 04:45:27 UTC -- Cleaning up /var/opt/gitlab/backups/pages.tar.gz
2025-11-08 04:45:27 UTC -- Cleaning up /var/opt/gitlab/backups/lfs.tar.gz
2025-11-08 04:45:27 UTC -- Cleaning up /var/opt/gitlab/backups/terraform_state.tar.gz
2025-11-08 04:45:27 UTC -- Cleaning up /var/opt/gitlab/backups/packages.tar.gz
2025-11-08 04:45:27 UTC -- Cleaning up /var/opt/gitlab/backups/ci_secure_files.tar.gz
2025-11-08 04:45:27 UTC -- Deleting tar staging files ... done
2025-11-08 04:45:27 UTC -- Deleting backups/tmp ...
2025-11-08 04:45:27 UTC -- Deleting backups/tmp ... done
2025-11-08 04:45:27 UTC -- Deleting backup and restore PID file at [/opt/gitlab/embedded/service/gitlab-rails/tmp/backup_restore.pid] ... done
Your container image version doesn’t match the backup. Fix it with:
# Stop the current container
docker compose down

# Edit the Docker Compose file
nano docker-compose.yml

# Update the image line to match the backup version:
# image: gitlab/gitlab-ee:16.7.0-ee.0

# Restart the container
docker compose up -d
Re-run the restore command after updating the version.
Practical Experience & Best Practices
- Maintain Version Consistency: GitLab backup formats are version-specific—cross-version restoration isn’t supported.
- Plan Mount Directories Wisely: Use a unified path like
/vol2/docker-apps/for easier migration and backup. - Set Up Automatic Backups: Use GitLab’s built-in tasks or cron for regular backups:bash
gitlab-rake gitlab:backup:create - Verify Backup Integrity Regularly: Check backup contents with
tar -tvf backup_filename.tar. - Use the Enterprise Edition (EE) Image: GitLab-EE offers advanced permission and security features ideal for private deployments.
Frequently Asked Questions (FAQ)
Q1: I keep getting “Permission denied” during restoration—what should I do?
A: Ensure the container runs as root and the mounted directory has 755 or 777 permissions.
Q2: Why won’t GitLab start after a failed restoration?
A: Version mismatch or interrupted restoration may cause this. Delete the container directory and redeploy from scratch.
Q3: Can I deploy GitLab on Synology Docker?
A: Yes. Import the same docker-compose.yml via Synology DSM’s Docker interface and keep path mappings consistent.
Q4: How do I back up GitLab configuration files?
A: All configurations are stored in /etc/gitlab and logs in /var/log/gitlab. Use rsync for regular synchronization.
Conclusion
Installing GitLab on a NAS isn’t a complex technical feat, but it requires understanding container permissions and version logic. With this guide, you can quickly set up a private GitLab platform on FNOS, Synology, or any Docker-supported NAS—creating an efficient, secure, and controlled DevOps environment.
